Quick Christmas Cards & The Hampton Art Stamping Tool

Hello!

I shared some cards on my Instagram for which I did not plan a blog post or a video, but some dear friends of mine asked me to make a video, so I’m popping in today for a quick blog post & a short video.

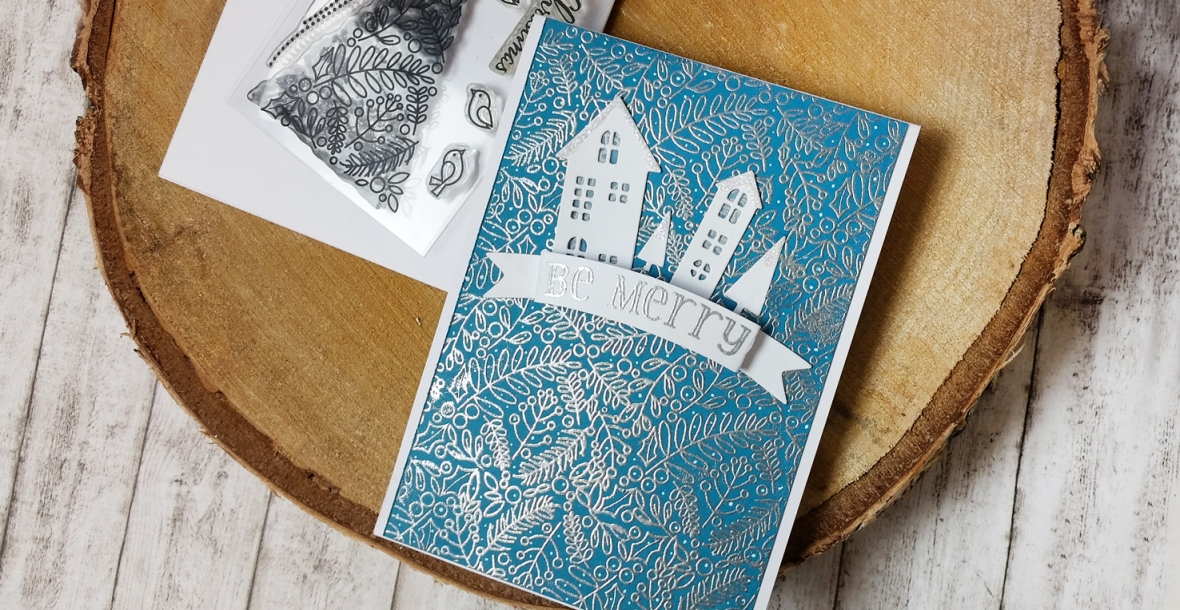
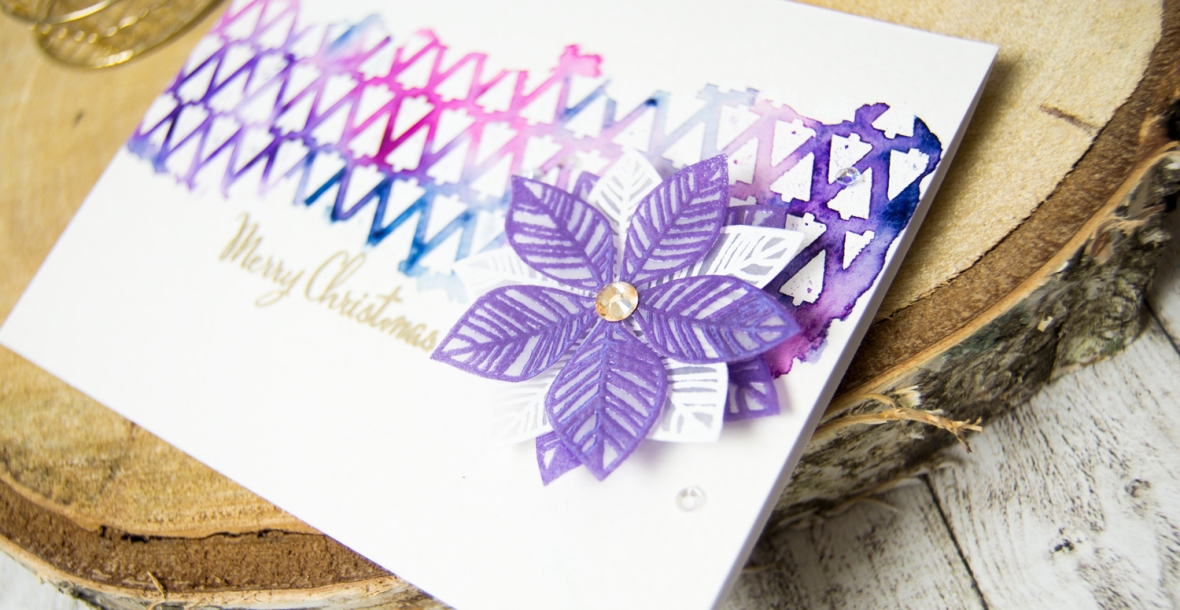
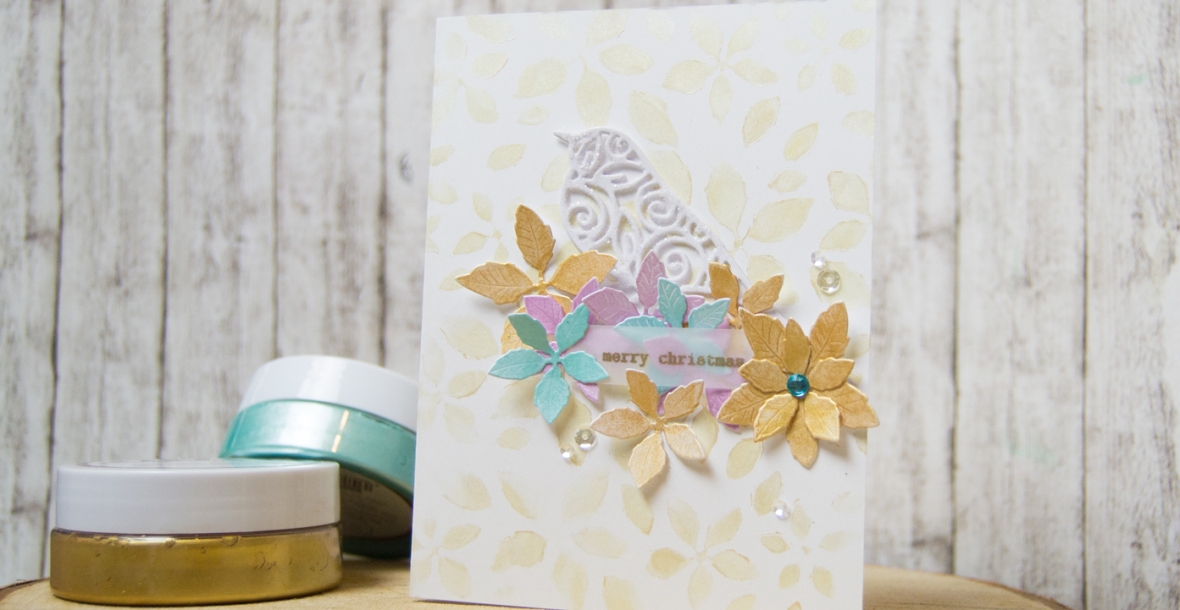
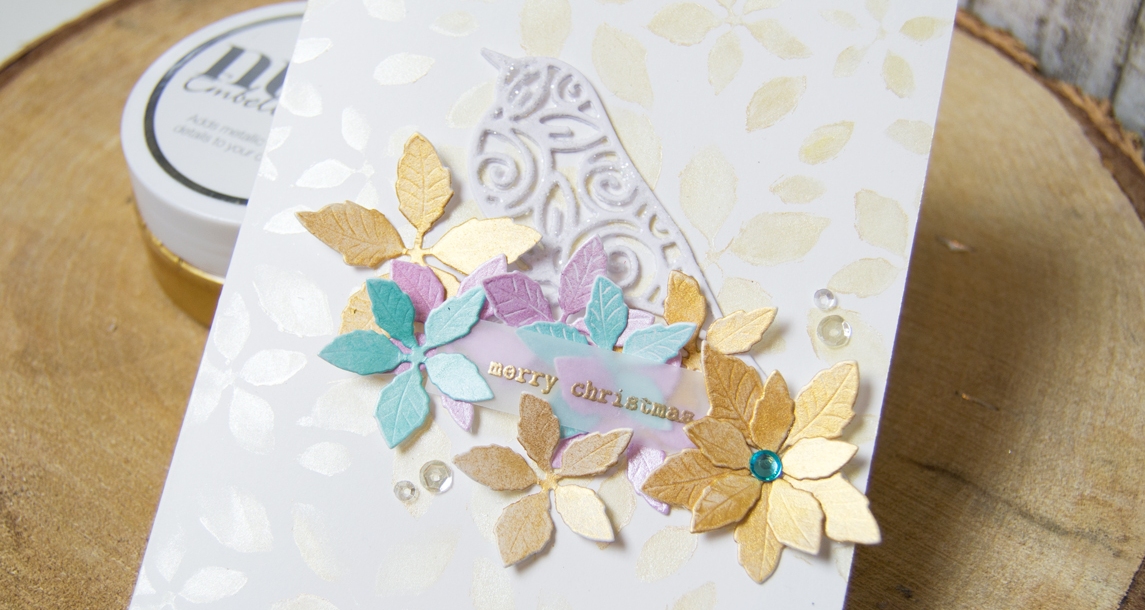
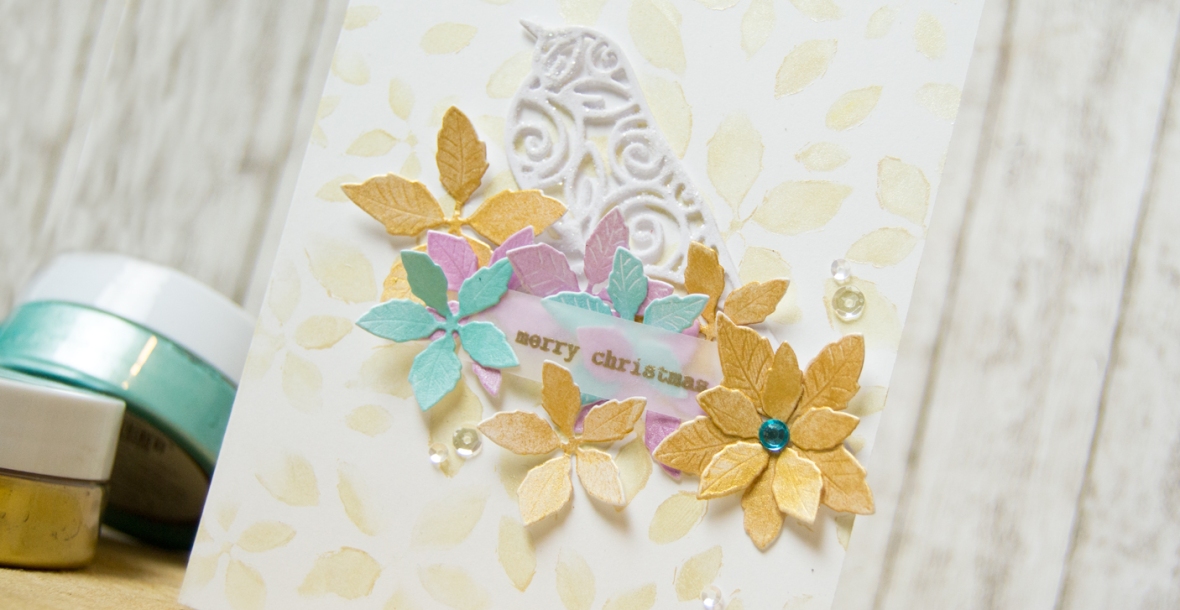
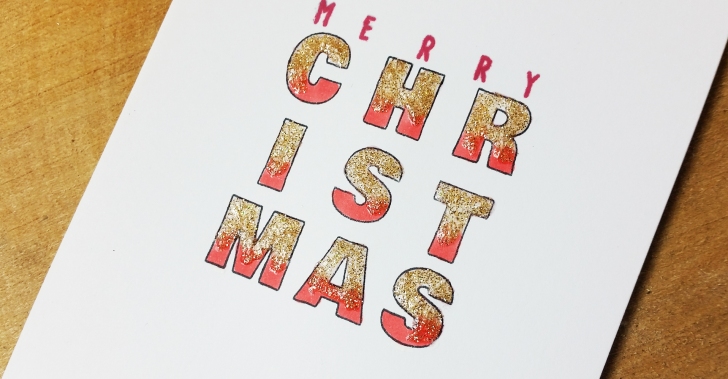
The layout of my cards is for Christmas, but you can use this layout for any occasion, all year round! This set of cards doesn’t need a large amount of supplies and the process is very quick & easy.

I played a bit with the Honey Bee alphabet stamps and once I made some measurements and had all the letters in place, I used my stamp tool to stamp all my cards within minutes. I also got the chance to experiment with a new stamping tool, made by Hampton Art. It is a lot like MISTI, the idea is the same, but the price point for the size that I found is much lower and that was what made me buying this tool. It works the same as the MISTI does, it is basically the same thing 😀

Once my cards were stamped, I used some Copic markers to add color only to the bottom side of the letters. Next I used my NUVO Glitter Drops to fill in the other part of the letters and the sparkle from the NUVO made these cards perfect for Christmas! I love when I find simple ways to make cards with minimum supplies:)

I made a quick video and you can find link to the supplies I used down below.  Click HERE if you want to watch it on YouTube.

https://static.inlinkz.com/ppr.js

Texture Paste & Glitter Christmas Card

Happy Saturday, all!

I finally made it to edit the video and the post of today, busy week once again 🙂

I made this card earlier this week and was so excited with how it came out that I couldn’t wait another day to share it with you also. I played a bit with glitter and texture paste and it was so much fun! At first I tried to use the glitter with regular opaque texture paste and it just didn’t grabbed the glitter, but then I pulled out the trasparent paste and experimented with that also. Oh, the joy when I saw that the glitter adhered on top of this paste! Yay!!

I don’t use glitter too often onto my projects, but this glitter from the NUVO line it’s addictive, lol! It’s not as regular glitter, chunky or too sparkly, it is  so subtle and velvety to the touch once it’s applied! Love it!

For today’s card I used a stencil by Tim Holtz that I have for about 1 year or even more. Love this stencil and I finally was able to use it on one of my cards:) Initially I was going for 2 cards, as you can see in the video, but just didn’t had the time to finish them both 😦

This trasparent paste is a bit more liquid than regular texture paste, so before I applied it I made sure that my stencil was taped in place really well. After I applied the paste, I used a tiny spoon to add the glitter in various colors and I used red for the flowers, green for the leaves and a bit of gold on what it was left.

20161122_195821

I had to wait for about 8 hours for the paste to dry. You can make a bunch of these at once and while the paste dries you can work on other projects. I really liked the result so even if it may take a bit of extra time with the paste and all, I think that a card like this would really be a joy for whoever receives it. That glitter and the dimension from the paste are simply gorgeous!

20161122_195828

I finished my card by adding some clear sequins here and there and embossed my sentiment onto a red piece of cardstock.

You can watch the process in the video down below or HERE on my YouTube channel.

I really hope this was inspiring and that you can give this technique a try as I am sure you will love the result as much as I do:)

https://static.inlinkz.com/ppr.js

Christmas Night Sky Card ft WPlus9

Hello everyone!

I’m so happy to share with you the pleasure that I had for  being invited to guest design for WPlus9 blog last week and here I am today sharing the project also on my blog. I was so excited with their latest release and for today’s card I used two of the Christmas stamp sets  & the matching dies.

20161102_141129

I started by stamping the cute images from the Santa’s Reindeer stamp set onto a piece of watercolor cardstock and used my watercolor markers to color everything in. Once all was colored I used the matching dies to trim everything out. I find that this set is just so cute and having the matching dies made the creative process so quick and easy.

20161102_141239

For my background I used a black and a dark blue Distress Ink that blended so beautifully onto my watercolor cardstock.

To create the sentiment for this card, I used the Be Merry stamp set and white heat embossed the gorgeous banner from the set. This is another great stamp to have as it can be used in so many ways and I will for sure use it to mass produce my cards for this year’s Christmas. Being such a large stamp it takes so little to fill in a card and you can have your cards made within minutes.

As I love adding details to my cards, I used some glittery glue to cover the white areas on my colored elements, brushed a bit of clear Wink of Stella on top for extra shimmer and glued several clear sequins here and there. To add more interest, I adhered the sentiment banner with a double layer of dimensional foam and tucked behind the reindeers and the cute little Santa using one layer of foam only.

20161102_141225


For my night sky I used some white paint that I splattered it on with a small brush. In the end, I adhered my panel onto a white card base and my card was all done!

You can find links to the supplies I used down below and I also created a video that shows the creating process.

Thank you so much for stopping by!

https://static.inlinkz.com/ppr.js

Creating a Winter Scene ft Memory Box | Mirror Stamping

Good morning!

I enjoy creating fun cards from time to time and today I am sharing this cute winter scene card that I made using stamps from Memory Box. I got a bunch of their winter stamps this year, as you probably already know, and I really enjoy using them for my cards.

For this card I used the mirror stamping technique and this time I got the chance to try it out with the solid stamps from Paper Smooches. I saw this set being used for mirror stamping and I wanted to give it a try. I can say it is pretty easy to use and the result is awesome! Love getting the most out of my stamps!

20161122_180229

After stamping the bears I used my matching die to cut them out. For the bear that was stamped reversed I just raised my paper against my light bulb and I was able to see the design on the back. This way I could easily align the matching die on the other side of the paper  and die cut my design out. For coloring I used my Copic markers and did some basic coloring, adding a bit of shading with my darkest colors.

20161122_180047

On my card base I wanted to create some banks of snow so I used my scissors to cut a curved line on a piece of cardstock and used that as my stencil to add a bit of a blue Distress ink.

Next I stamped and trimmed out a bunch of Christmas trees and glued them straight onto my card base. For one of the bears I cut a slit under his arm and tucked one of the trees underneath :))

Once everything was mounted, I created some snowflakes with my NUVO drops and my card was all done! So quick & easy and I think the layout is pretty fun too 🙂

20161122_180210

You can watch the how-to video below or HERE on my YouTube channel. Supplies, as always, can be found at the end of the post.

Thx so much for stopping by! xoxoxo

https://static.inlinkz.com/ppr.js

Thank You Cards ft Concord & 9th and Distress Paints

Hello all!

I’ve put a bit to the side the Christmas themed cards ( not for long, though) and today I am sharing a set of Thank You cards and my experimenting with the Distress Paints. I wanted to try something new for stamping so I pulled out my paints and gave them a try. I already knew that paints can be used for stamping, and that they work better with rubber stamps, but it was pretty easy using them with my clear stamps also.

20161121_101547

The great thing about these paints is that when they dry they become resistant to water, so you can use your watercolor mediums to color on top and the paints won’t move around. I will for sure try that also in the near future:)

20161121_101459

So, I picked some colors that I thought worked good together and stamped the leaf from the Concord & 9th stamp set onto vellum. I looove how the paints stamp on vellum! To get the most out of my paints, I spritzed a bit of water on the stamp and stamped it several more times on watercolor cardstock. You can stamp 4-5 times without re-adding paint to the stamps.  Awesome for mass-producing as it saves a lot of time! 🙂

For one of the leaves I used clear embossing powder and added color with my NUVO Mousse. I just can’t get enough of this product. And the shimmer of these pastes is simply gorgeous on vellum!

20161121_101241

I also used an embossing folder and added color on the design with the NUVO Mousse.

20161121_101411

Once everything was dry, I cut all the leaves with my scissors and assembled my cards. I kept the layout very simple as I wanted to have the leaves as my focal point.

20161121_101440

There is also the video down below, or you can watch it HERE on my YouTube channel. And at the end of the post you will find links to all the supplies I’ve used.

I hope this was inspiring and I thank you all for stopping by! xoxoxo

https://static.inlinkz.com/ppr.js

Christmas Place Tags ft WPlus9

Happy Saturday, all!

I’m up early today as I had to finish editing the video of the project that I am sharing ton my blog. It is raining like crazy but at least the weather it is a bit warmer. I don’t know about you, but I hate cold weather!:) The only thing that I love about cold weather and that comes with it, is that I can make Christmas themed cards & tags and these are always so much fun to create!

For today’s project I prepared some tags, that can be used either as place tags for decorating your table or as regular gift tags, tied around your Christmas gifts.

20161118_173621

I used a bunch of WPlus9 goodies as I really love their winter release. I think  I got almost the entire collection, lol!

To create my place tags I folded in half a long piece of cardstock and used the tag die from the Christmas Tag Die set to cut through both layers of the cardstock. To make this a piece that can be folded, I just placed the top side of the tag a bit higher than the fold of my cardstock and this way the top side didn’t get cut into my Big Shot.

20161118_173722

Next I used my MISTI to stamp a bunch of flowers. leaves & berries from the Be Merry Florals stamp set. In the video below you can see how I use my MISTI to stamp perfectly onto my die cuts. It’s just so easy and quick!

I then used another great stamp set from WPlus9, the Santa’s Reindeer, and stamped and colored one of the cute reindeers from the set with my Copics. It’s been so long since I used my Copics to color, but it was fun using them again!:)

20161118_173935

I created one personalized place tag using an alphabet stamp and inside of the tag I stamped the Merry Christmas sentiment.

Once all my elements were complete, I used my liquid glue to adhere everything down, creating a cluster with the florals and the reindeer on top.

20161118_174010

I have a video showing you how I made the tags and you can watch it down below or HERE on my YouTube channel. You can find links to the supplies I used at the end of the post!

Thank you for stopping by and I hope you have a great weekend!

I’m adding my tags in the Simon Says Stamp Wednesday Challenge, and this time it’s al about Critters:)


Stretch Your Stamps | Stamp a Pattern

Hello, friends!

As you already know I love stamping my own backgrounds and today will be showing you how easy it is to use a small stamp to create a pattern. For this card I used a lovely stamp set from Memory Box called Botanical Christmas Tree. I got a bunch of sets from Memory Box this year, I love the quality, their designs and also the price point. I always look up for these characteristics when I shop around.

The Christmas tree from this set reminded me of the times when I was playing around with some design software and was trying to create my own patterns. So I started stamping this tree and realized that it can be used to fill in a whole background pattern, as it dosen’t have any outlines.

20161116_145158

For my first project I stamped only a portion of the front of my card and then used my watercolors to quickly add some color. Very simple & easy and I kept a clean and simple layout for this card. I just added a bit of sparkle with a shimmer spray and embossed in gold my sentiment.

20161116_145138

For my second card, I stamped a whole background in clear ink and embossed the pattern in silver. I love how the silver looks on top of the teal cardstock. Next I used some SSS dies to cut the cute houses and made a banner for my sentiment. To finish off my card I just added details with a white gel pen and a bit of sparkle using the Star Dust stickles.

20161116_145109

As you can see, you can always try to stretch your supplies and I can tell you that the more you craft, the more you will find an extended look for your supplies.

20161116_145226

There is a how-to video down below and you can find a list of the supplies at the end of the post. You can also watch the video HERE on YouTube.

I hope you all have a wonderful day and will see you soon! xoxoxo

https://static.inlinkz.com/ppr.js

Christmas Poinsettia Card & Quick Watercolor

Hello all!

I’m popping in today to share some quick & easy Christmas cards. I love making Christmas cards, I would make them all year round, lol! It’s like a ”free to sparkle & shimmer” kind of thing :))

For today’s cards I used my watercolors and did a lot of heat embossing; I used minimum supplies and I love how these cards turned out.

dsc_0095

I started by stamping the trees onto my card bases and because I didn’t want to cover the entire front of the cards with that tree pattern, I just did a quick masking and stamped only a portion of the pattern onto my cards. I used gold & white embossing powders for the trees and once the powders were set I used my Mission Gold watercolors to add color onto my panels. I love to use watercolors & heat embossing, the result is always a surprise and I love to watch the colors move and mix with eachother.:)

dsc_0131

I then used the poinsettia stamp and stamped a bunch of them onto a piece of vellum. The cards for today were inspired by an embossing powder that I had laying in my craft room. It is a powder that I never used before and was not too happy about it, but once I have tried it onto vellum I just fell in love with it:)) You can see how gorgeous it is in the photos and also in the video down below:)

dsc_0125

To finish my cards I stamped a Merry Christmas sentiment and did some more gold embossing. And to add more sparkle, I adhered some gems and several sequins here and there.

dsc_0146

Supplies are listed below and as always you can watch the how-to video on my blog or HERE on my YouTube channel.

I hope you enjoyed this project and I thank you all for stopping by! xoxoxo

https://static.inlinkz.com/ppr.js

My Christmas Card Set for 2016

Hello,

Today I want to share with you the set of cards & envelopes that I will be sending out to my friends for this year’s Christmas. I finally managed to find a layout that I like and that I enjoy recreating. The set includes a card, a gift card holder and a personalized envelope. I was pretty excited with this project and I really love how it came out.dsc_0073

I started by stamping a gingham background onto some white paper panels and I’ve used different colors of inks, just to make it all more fun and also to use more of my supplies. Being cards that I will send out I wanted to use as many supplies as I could and turn everything into a special and unique gift. Next I gold embossed the reindeer from a Winnie & Walter stamp set onto a piece of vellum and used a scalloped circle die to cut them out. I also die cut some regular circles to be smaller than the scalloped ones and I just adhered them one on top of the other.

dsc_0094

To give my cards a more winter feel I used a branch die from Memory Box and die cut a bunch of them from white cardstock. To color them in I just scrubbed my ink pad on top and once all were colored, they seemed just so real:) This is the only branch die that I have and I absolutely love the design!

For the greetings I stamped the Be Merry in brown ink and used a banner die to cut them all out.

For my gift card holders I used a die from Simon Says Stamp. This is a wonderful die to have as it works great all year round and it is perfect for any occasion. To match them with my cards I stamped the gingham pattern on the front and gold embossed that reindeer once again. I love how the gold embossing stands out on the gingham pattern, it feels so much like Christmas:)

dsc_0087

To finish off my project I decorated the kraft envelopes by doing some more stamping and personalized them with the names of the recipients by using the Concord & 9th alphabet stamps.

dsc_0080

I also created a video for you if you want to check it out; you can watch it down below or HERE on my YouTube channel. I am entering my cards in the Simon Says Stamp Monday Challenge!

I hope this was inspiring and will see you soon with a new project!

https://static.inlinkz.com/ppr.js

Merry Christmas Card ft Nuvo Mousse

Happy Friday, my friends!

I want to start of by apologizing for not being more active here on my blog, life just got crazy over the past weeks and my plans for this year’s Christmas cards videos & posts got all messed up. But today I managed to sit at my craft table and make a card. Yay!

As the title says, I am featuring once again the NUVO Mousse, a product that I absolutely love and enjoy using for my cards. This product is a very soft & shimmery paste that can be used for adding color onto die cuts, stenciling, adding splatters and so much more!

dsc_0041

I started my card by die cutting the poinsettia flowers and the lovely bird using the dies from Simon Says Stamp. For my bird I used my glue and white glitter to give it a bit of sparkle and for my flowers I used the NUVO mousse to color them all in. I just used my finger to pick the paste and rub it on top of the die cuts. Coloring with the NUVO mousse is for sure the fastest way to add color onto die cuts, lol. Being a soft paste, the color blends out so easily and that shimmer makes everything just perfect for the festive season.

dsc_0056

For my card base I did some stenciling using the negative left over that I had after cutting the poinsettias. I just placed it on top of my card and once again used my finger to add the color. The result was so beautiful, the color is subtle and elegant. I love it!

dsc_0037

Next I glued the bird on the front of my card and created a cluster with all my colored flowers. I also created a banner from some vellum for my sentiment and tucked it behind the petals of the flowers to hide the marks from the glue. To finish all up, I added several clear sequins and my card was all done.

20161111_155122

I also created a video for this card and you can find all the supplies used at the bottom of the post. You can also watch the video on YouTube HERE.

Thank you all so much for stopping by and I hope to see you all very soon!

https://static.inlinkz.com/ppr.js